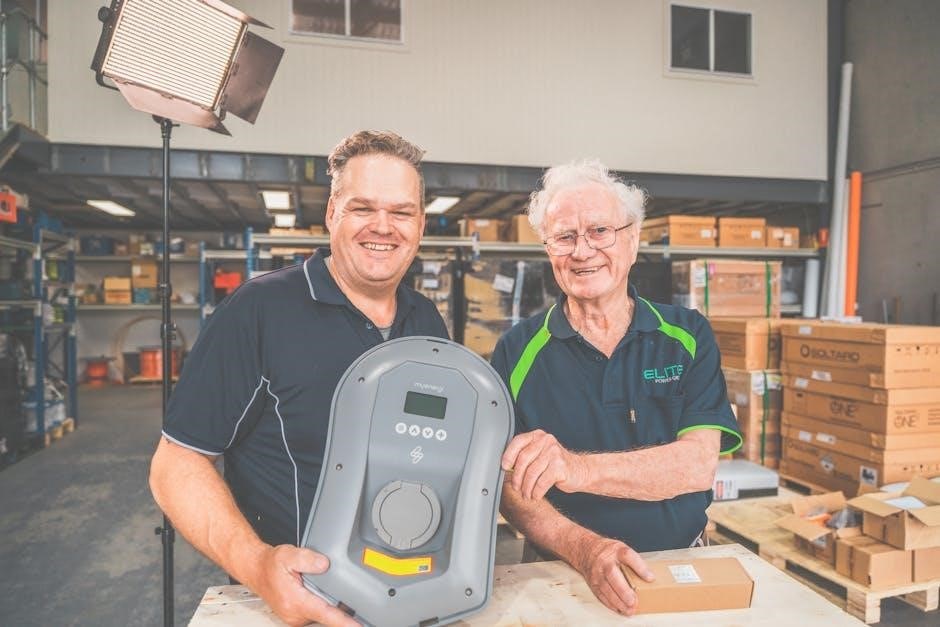
Electric scooter repair manuals provide essential guidance for maintaining, troubleshooting, and fixing common issues. They include detailed instructions, safety tips, and diagrams to ensure proper repair and longevity.
1.1 Importance of Proper Maintenance and Repair
Proper maintenance and repair are crucial for ensuring the longevity and optimal performance of an electric scooter. Regular checks help prevent mechanical failures, reduce wear and tear, and enhance safety. A well-maintained scooter experiences fewer breakdowns, extending its lifespan and reliability. Neglecting maintenance can lead to costly repairs or even render the scooter inoperable. By following a repair manual, users can identify and address issues early, ensuring their scooter remains efficient and safe to use. Proper care also preserves the battery life, which is essential for consistent performance and overall satisfaction with the vehicle.
1.2 Understanding the Basics of Electric Scooter Mechanics
Electric scooters operate through a combination of electrical and mechanical components. The core systems include the motor, battery, controller, and braking mechanism. The motor converts electrical energy into motion, while the battery stores power for operation. The controller regulates the flow of energy between the battery and motor. Understanding these basics is vital for effective troubleshooting and repair. Familiarity with components like the throttle, brakes, and suspension enables users to identify and address issues efficiently. A repair manual provides detailed insights into these systems, helping users grasp how each part interacts to ensure smooth and safe functionality.
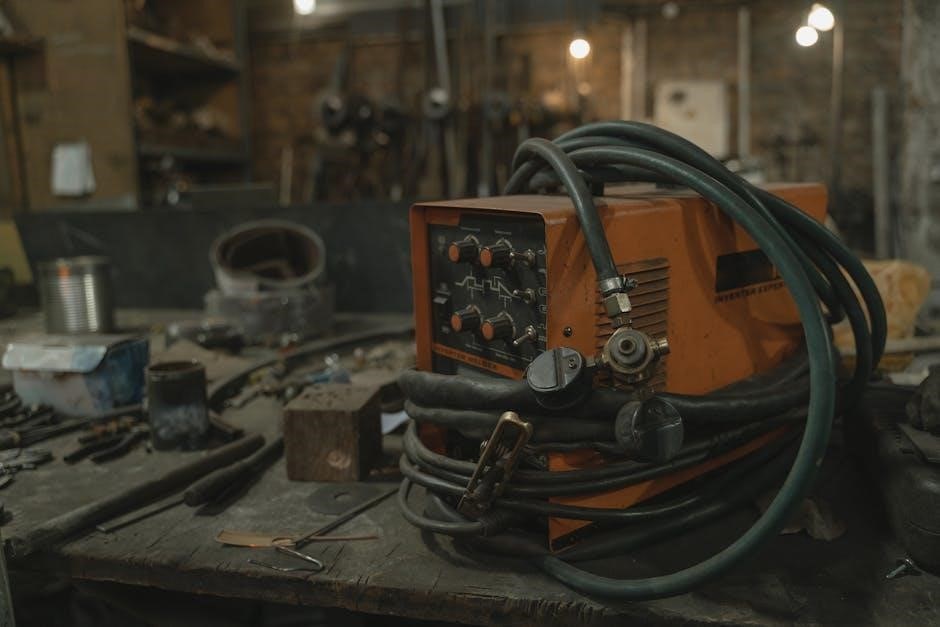
Essential Tools and Safety Tips for Repair
Essential tools include screwdrivers, wrenches, and multimeters. Safety tips: disconnect the battery, wear gloves, and ensure proper ventilation to avoid injuries and electrical hazards.
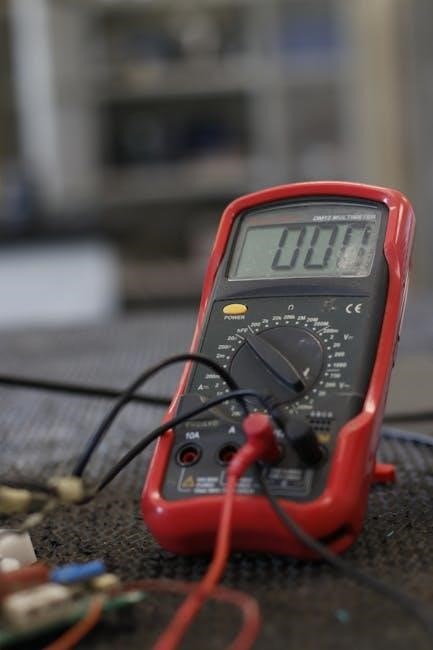
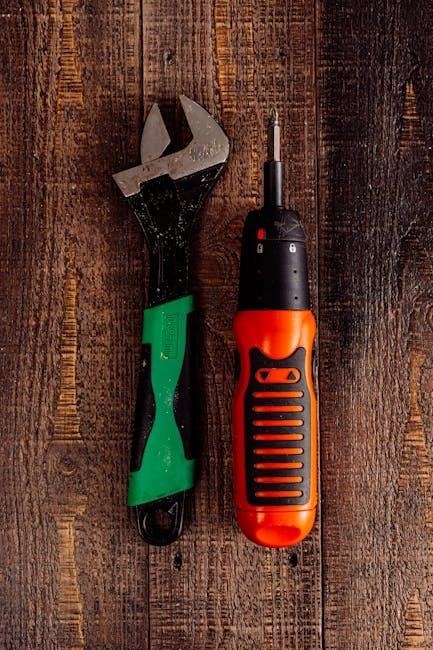
2.1 Required Tools for Electric Scooter Repair
Essential tools for electric scooter repair include screwdrivers (Phillips and flathead), pliers, wrenches (adjustable and Allen keys), and a multimeter for diagnosing electrical issues. A torque wrench ensures proper bolt tightening. Additional tools like wire cutters, soldering irons, and tire pressure gauges may be needed for specific repairs. Safety gear, such as gloves and safety glasses, is crucial to prevent injuries. A work stand can help stabilize the scooter during repairs. Always refer to the manual for model-specific tool recommendations to ensure compatibility and safety.
2.2 Safety Precautions to Avoid Injuries and Damage
Always disconnect the battery before starting repairs to prevent electrical shocks. Wear protective gear like gloves and safety glasses to avoid injuries. Ensure the scooter is on a stable, flat surface and apply brakes if necessary. Avoid working in wet conditions or near open flames. Never modify the scooter beyond manufacturer specifications. Keep loose clothing tied back to prevent accidents. Use only approved chargers and avoid overcharging. Store batteries in cool, dry places to prevent deterioration. Follow the manual’s guidelines strictly to avoid damaging components or causing harm to yourself or others.

Common Issues and Troubleshooting
Identifying common issues like battery charging problems, motor malfunctions, and brake failures is crucial. Use diagnostic tools and repair manuals to pinpoint and resolve issues effectively.
3.1 Battery Charging and Power Issues
Battery charging and power issues are common in electric scooters. Symptoms include a dead scooter, slow charging, or a charger showing abnormal lights. Check connections, ensure the outlet is working, and verify battery health. Avoid overcharging, as it can degrade battery life. If the scooter won’t turn on, inspect the power switch and circuit breaker. Storage in extreme temperatures can affect battery performance. Always use the manufacturer-approved charger and follow charging guidelines. If problems persist, consult the repair manual or contact a professional. Proper maintenance ensures optimal battery function and extends scooter lifespan.
3.2 Motor and Transmission Problems
Motor and transmission issues can cause reduced performance or complete scooter failure. Common symptoms include unusual noises, vibrations, or a lack of movement. Check for worn or damaged parts, such as gears or bearings, and ensure proper lubrication. Misalignment or loose connections in the motor or transmission can also disrupt functionality. Consult the repair manual for disassembly and inspection steps. If the motor is defective, it may need to be replaced as a unit. Regular maintenance, like cleaning and lubricating moving parts, can prevent these issues. Addressing these problems promptly ensures smoother operation and extends the scooter’s lifespan.
Step-by-Step Repair Guide
A step-by-step repair guide provides a systematic approach to diagnosing and fixing issues. Start with safe disassembly, identify faulty components, and follow manual instructions for replacement or repair.
Always use approved tools and parts to ensure safety and effectiveness. After completing repairs, reassemble the scooter and test its functionality to confirm successful fixes.
4.1 Disassembling the Scooter Safely
Disassembling your electric scooter requires careful planning and attention to safety. Always start by disconnecting the battery to prevent accidental power-up. Use approved tools like Allen wrenches and screwdrivers to avoid damaging components.
Begin with removable parts such as the handlebars or seat. Gently pry or unscrew components, taking note of wiring and connectors. Document each step to ensure proper reassembly. Never force parts apart, as this can cause irreversible damage. Follow the manual’s disassembly sequence to maintain structural integrity and safety throughout the process.
4.2 Replacing or Repairing Faulty Components
When replacing or repairing faulty components, always use genuine or compatible parts to ensure optimal performance. Start by identifying the issue using the troubleshooting guide in your manual. For electrical faults, such as a defective controller or battery, refer to the wiring diagram to locate and replace the faulty unit. Mechanical issues, like worn brakes or a damaged motor, require careful disassembly and reassembly. Apply lubricants to moving parts and tighten all bolts securely. After repairs, test the scooter thoroughly to ensure all systems function properly before regular use.
Maintenance Tips to Extend Scooter Life
Regularly inspect brakes, tires, and electrical connections. Clean the scooter thoroughly and lubricate moving parts. Store batteries in cool, dry places and avoid deep discharges.
5.1 Regular Checks and Cleaning Procedures
Regular checks ensure optimal scooter performance and longevity. Inspect tires for wear, brakes for proper function, and electrical connections for damage or corrosion. Clean the scooter thoroughly, focusing on the motor, battery, and frame, to prevent dirt buildup. Lubricate moving parts like hinges and folding mechanisms to maintain smooth operation. Check battery terminals for corrosion and ensure they are securely connected. Store the scooter in a cool, dry place to prevent battery degradation. Regular cleaning and inspections help identify potential issues early, preventing major repairs and ensuring safe, reliable use.
5.2 Upgrading Parts for Better Performance
Upgrading specific components can significantly enhance your electric scooter’s performance. Consider replacing the battery with a higher-capacity model for extended range and power; Upgrading tires to wider, puncture-resistant ones improves stability and traction. Swapping the motor for a more powerful one can increase speed and torque, especially for heavier riders or hilly terrains. Additionally, upgrading brakes to hydraulic or disc brakes ensures better stopping power and safety. Always consult the repair manual to ensure compatibility and follow proper installation procedures. These upgrades can transform your scooter into a more reliable and high-performing vehicle tailored to your needs.

Advanced Troubleshooting Techniques
Advanced troubleshooting involves diagnosing complex electrical failures, using diagnostic tools, and performing detailed system checks to identify and resolve deep-rooted issues effectively, ensuring optimal scooter performance and safety.
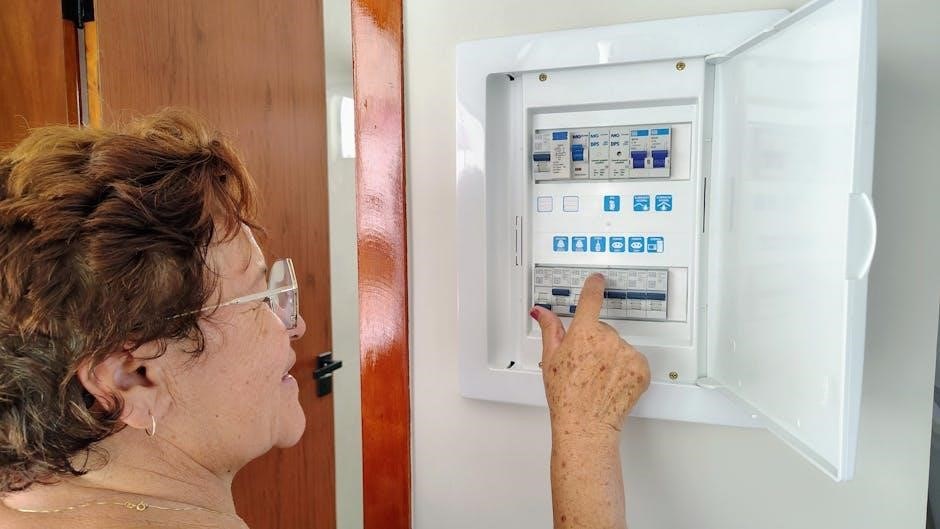
6.1 Diagnosing Electrical System Failures
Diagnosing electrical system failures in electric scooters requires a systematic approach. Start by checking the battery voltage and connections using a multimeter. Inspect wiring for damage or corrosion and ensure all connectors are secure. Faulty components like the controller, motor, or sensors can cause electrical issues. Use diagnostic tools to identify error codes or unusual readings. Consult the repair manual for specific troubleshooting steps tailored to your scooter model. Always disconnect the battery before working on electrical components to avoid shocks or short circuits. Proper diagnosis ensures efficient and safe repairs, preventing further damage to the scooter’s electrical system.
6.2 Resolving Brake and Suspension Issues
Resolving brake and suspension issues on electric scooters involves inspecting and maintaining these critical systems. Start by examining brake pads for wear and ensuring proper alignment. Check the brake lever for sponginess, which may indicate air in the system or low fluid levels. For suspension, inspect shocks and springs for damage or wear. Regular lubrication of moving parts and tightening of bolts can prevent issues. Refer to the repair manual for model-specific guidance on adjusting or replacing components. Proper maintenance ensures safety, stability, and optimal performance of the scooter’s braking and suspension systems.